DO YOU HAVE ANY QUESTIONS?
THANKS!
REQUEST HAS SENT
WE WILL CONTACT YOU SHORTLY


SERG TOMAKH
DEVELOPMENT MANAGER
Or contact us via email hello@omegarender.com

Realistic 3D Interior Lighting:
13 Techniques and Tips
What Is 3D Lighting?
3D lighting is the controlled simulation of how light behaves inside a digital three-dimensional space. Interior visualization is not limited to making furniture, walls, and décor visible. It defines mood, depth, material readability, spatial hierarchy, and the image's emotional logic. A room can have perfect modeling and expensive materials, but without believable lighting, it will still feel artificial.
In architectural rendering, 3D lights imitate real world sources: sunlight, skylight, HDRI environments, ceiling fixtures, wall sconces, table lamps, LED strips, spotlights, IES profiles, and reflected bounce light. Each source has intensity, color temperature, direction, softness, decay, and a relationship with surfaces. Daylight often sits around 5500–6500K, while warm residential lighting commonly falls near 2700–3000K. Task lighting may move toward a cleaner 3500–4500K, depending on the room function.
The balance of visual communication in architecture has shifted toward real-time rendering; would form a new standard where clients expect to experience atmosphere before construction begins. In the wake of faster engines, stronger GPUs, and the vast poliferation of immersive presentations, lighting has seized the lead in the intricate game of jockeying for attention, realism, and emotional persuasion.
13 Tips for Realistic 3D Interior Lighting
Collect Multiple References
A realistic basic lighting setup begins before opening render visual settings. Collect three to five references that match the room type, window orientation, time of day, material palette, and desired mood. A luxury living room at golden hour, a hotel lobby under layered artificial lighting, and a minimal kitchen on an overcast morning all require different light logic.
References help you understand where the main light rays comes from, how strong the shadows are, how warm the practical lamps appear, and how much contrast real life interiors can hold. They also prevent guessing. For Omegarender-style architectural visualization, references are not copied mechanically; they become a calibrated visual brief intended for aligning the client’s vision, the designer’s concept, and the renderer’s technical decisions.
Use Masks
Masks help control where light goes and where it should not go. In 3D lighting, this can mean light blockers, invisible geometry, compositing masks, directional light render passes, or light linking. These lighting techniques are especially useful when a lamp illuminates too much of the room or when a focal object needs a controlled highlight without flattening the whole scene.
For example, a subtle mask can keep a wall sconce from spilling excessive light onto the ceiling. A light blocker near a window can create a more natural shadow pattern. In compositing, masks allow you to strengthen glow, soften highlights, or reduce exposure in selected areas without changing the entire render.
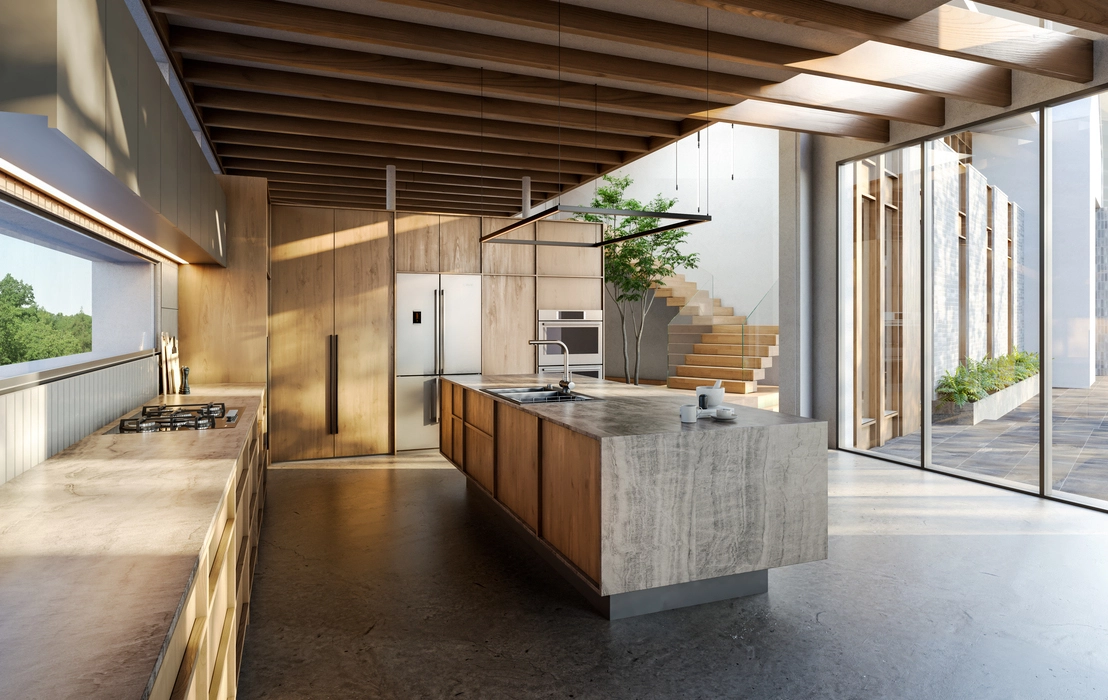
Build Compelling Compositions
Lighting and composition should be planned together. A camera angle determines what the viewer notices first, while light explains why that object matters. Strong compositions use leading lines, foreground depth, symmetry, negative space, and contrast. Lighting then reinforces these choices.
Before placing every lamp, keep in mind the visual priority: a sculptural chair, a marble island, a staircase, a fireplace, or a panoramic window. Then place the key light to support that hierarchy. This is how a render moves from technical illustration to architectural storytelling.
Add Shadows for More Realism
Shadows anchor objects. Without them, furniture seems to float, corners lose depth, and materials become visually weightless. Realistic shadows vary: direct sun creates sharper edges, large area lights create soft gradients, and bounced light gently fills dark zones.
Use shadows to show scale, contact, and spatial depth. Chair legs should touch the floor convincingly. Curtains should cast soft folds. Cabinet overhangs should create small occlusion areas. Avoid both extremes: completely black corners look unnatural in most interiors, while shadowless lighting makes the scene feel like a showroom with no atmosphere.
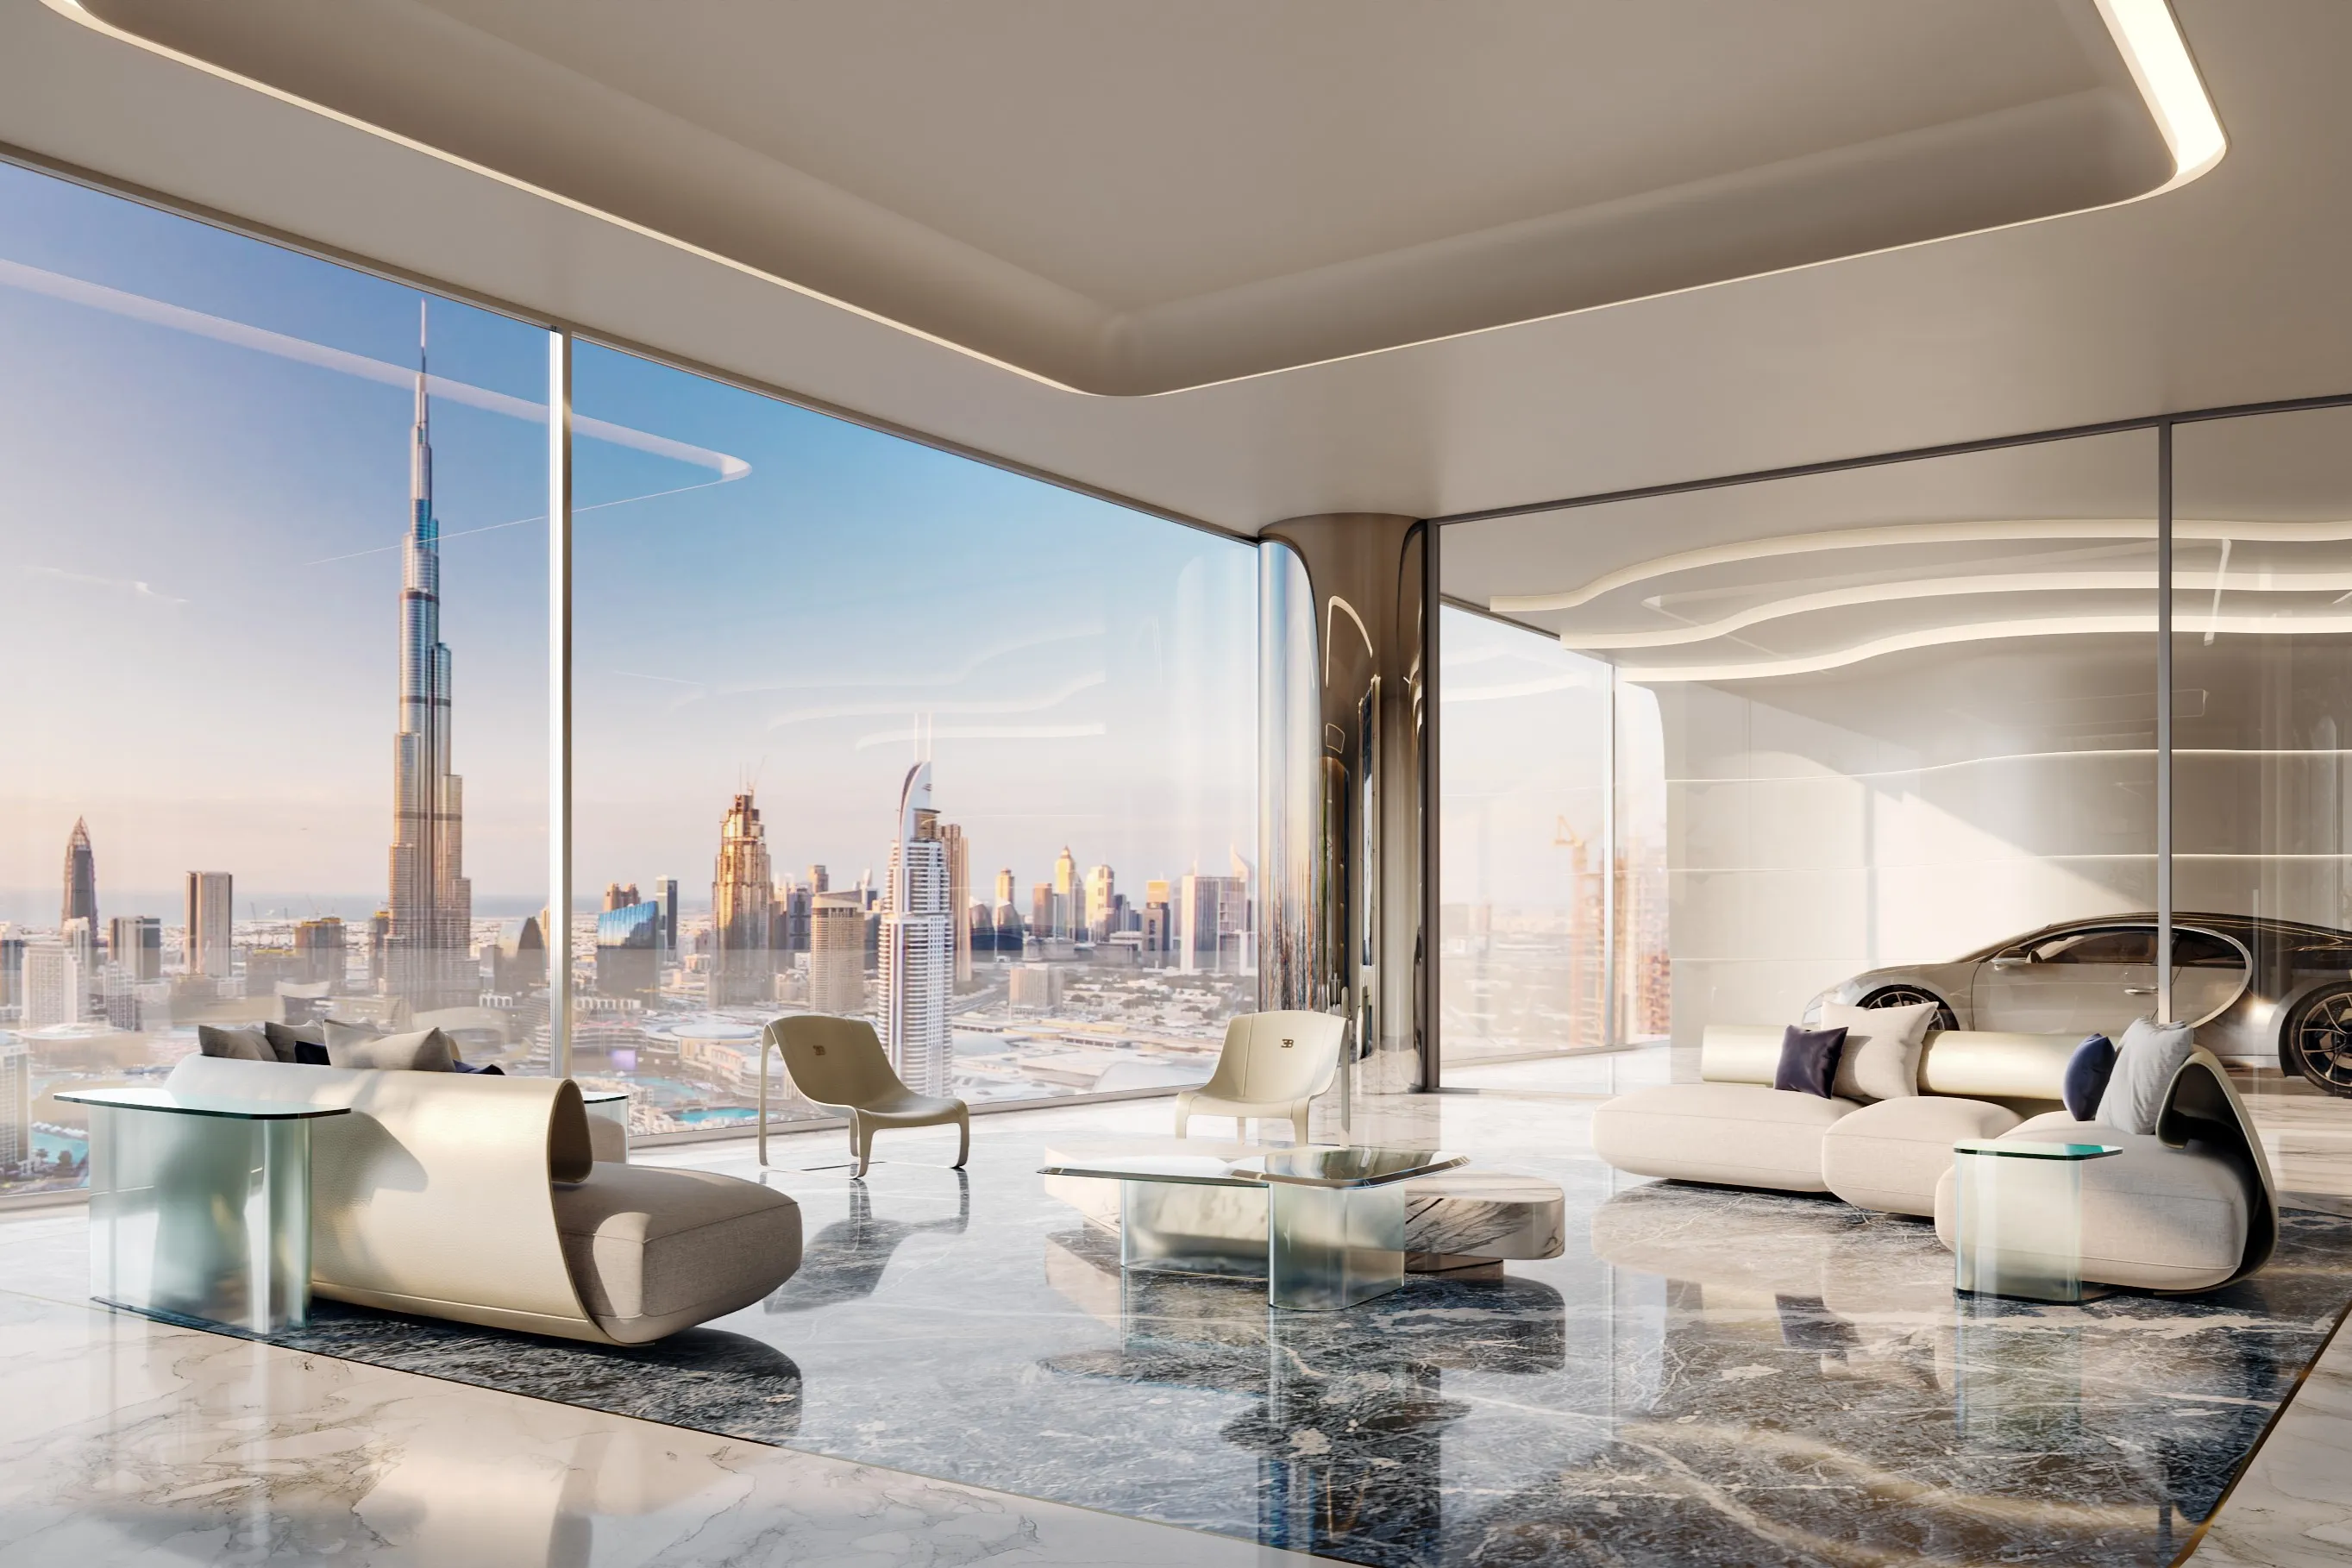
Play with Lenses
Camera lenses affect how light is perceived. Wide-angle lenses exaggerate space and can make window light feel expansive, but they may distort furniture if pushed too far. Longer lenses compress space and can make lighting appear more intimate, cinematic, and curated.
Depth of field, exposure, focal length, and framing all shape the lighting story. A soft background glow behind a dining table can guide the eye. A mild bokeh effect from practical lamps can create warmth. Use lens effects carefully; they should support realism, not hide weak lighting.
Create interior renders that make clients feel the space before it’s built.
Position the Main Light
Every interior render needs a clear lighting hierarchy. The main light may be sunlight through a window, a large skylight, an overhead pendant, or a dramatic wall fixture. Its position determines shadow direction, volume, and the emotional tone of the room.
For daytime interiors, start with sun and sky or HDRI. Angle the sun so it reveals forms rather than blasting directly into the camera. For evening scenes, define the strongest practical source first: pendant lights above a table, lamps beside a sofa, or linear LEDs in architectural details. A believable main light makes the rest of the lighting easier to balance.
Highlight Key Elements
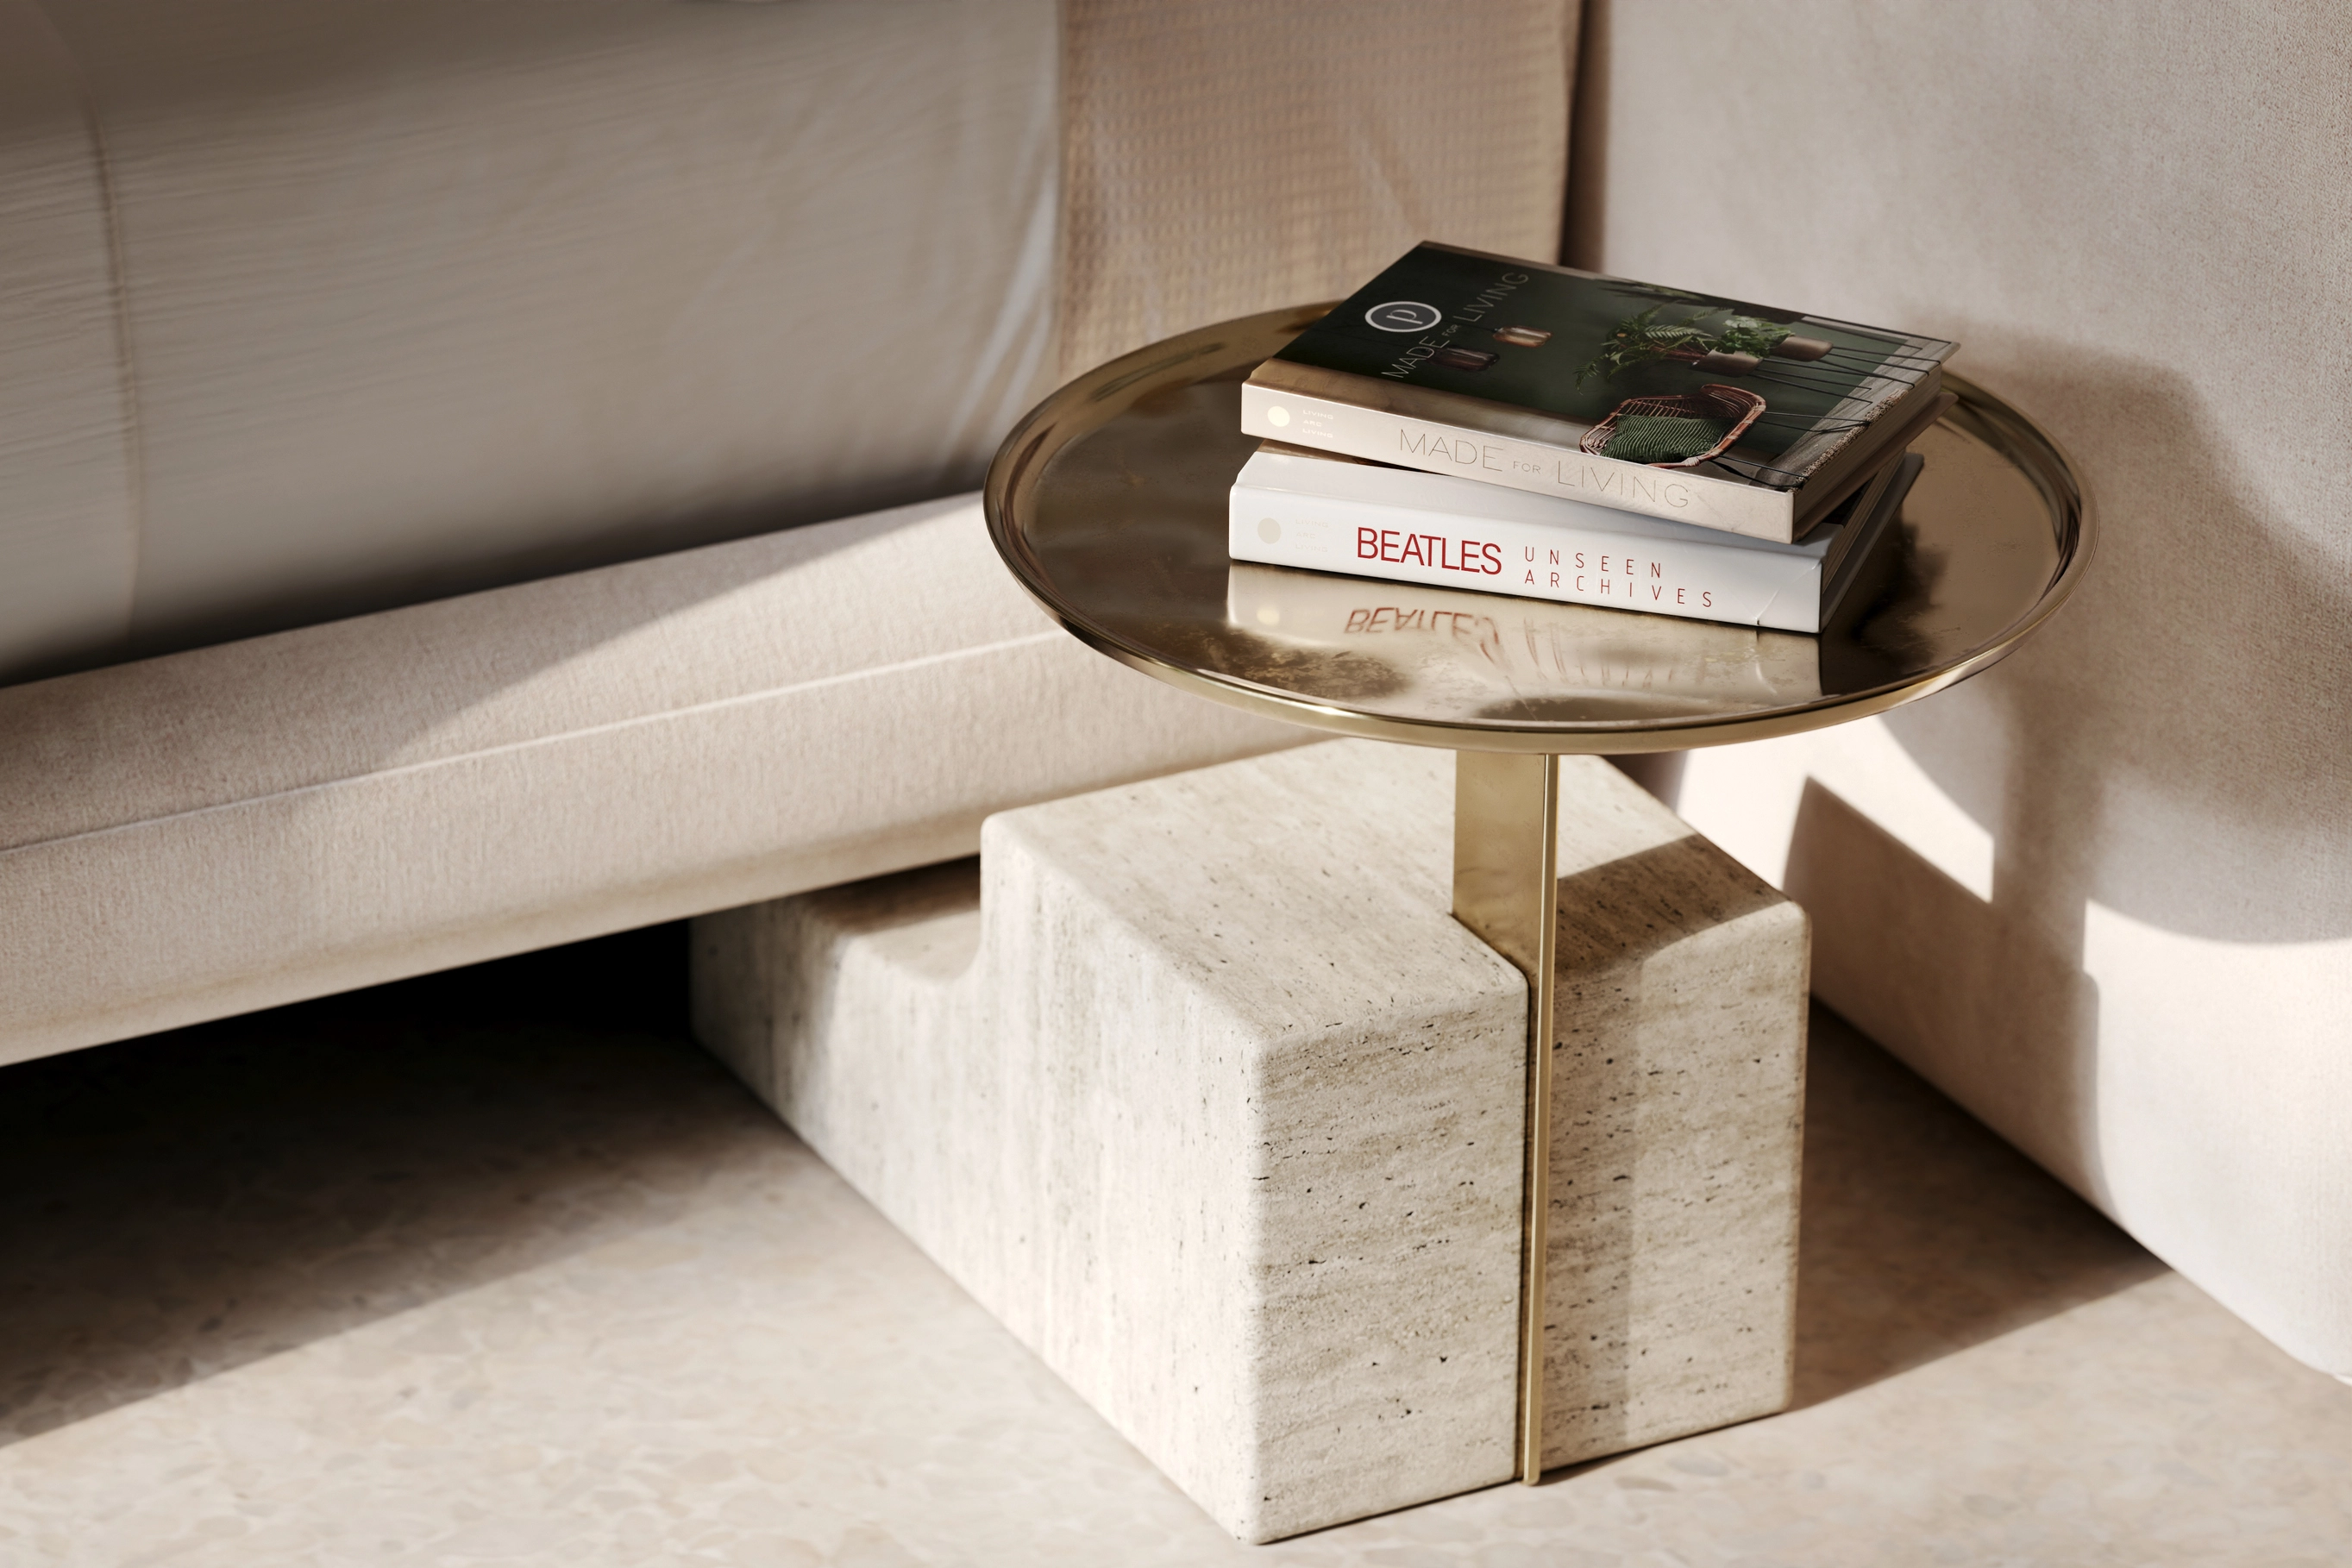
Realistic lighting is selective. It does not illuminate everything equally. Highlight the features that sell the design: textured stone, polished metal, custom joinery, premium furniture, artwork, or a dramatic ceiling detail.
Use small area lights, soft spotlights, IES fixtures, or controlled reflections to direct attention. A narrow highlight on brass, a gentle rim light along a chair, or a warm glow on wood can elevate the perceived quality of the interior. For a sizable audience of architects, developers, and buyers, these accents make the design easier to understand and remember.
Clean Up Compositing
Compositing should refine the render, not rescue it. Build most of the realism in the 3D scene first: correct lighting positions, realistic material responses, proper exposure, believable shadows, environment lighting, and clean reflections. Then use compositing to polish.
Separate render passes for light, reflection, refraction, shadows, ambient occlusion, and masks give better control. Adjust bloom, glare, color balance, and contrast with restraint. Heavy glow, excessive lens flare, and aggressive color grading can make an image look synthetic. Clean compositing respects the physical logic already created in the render.
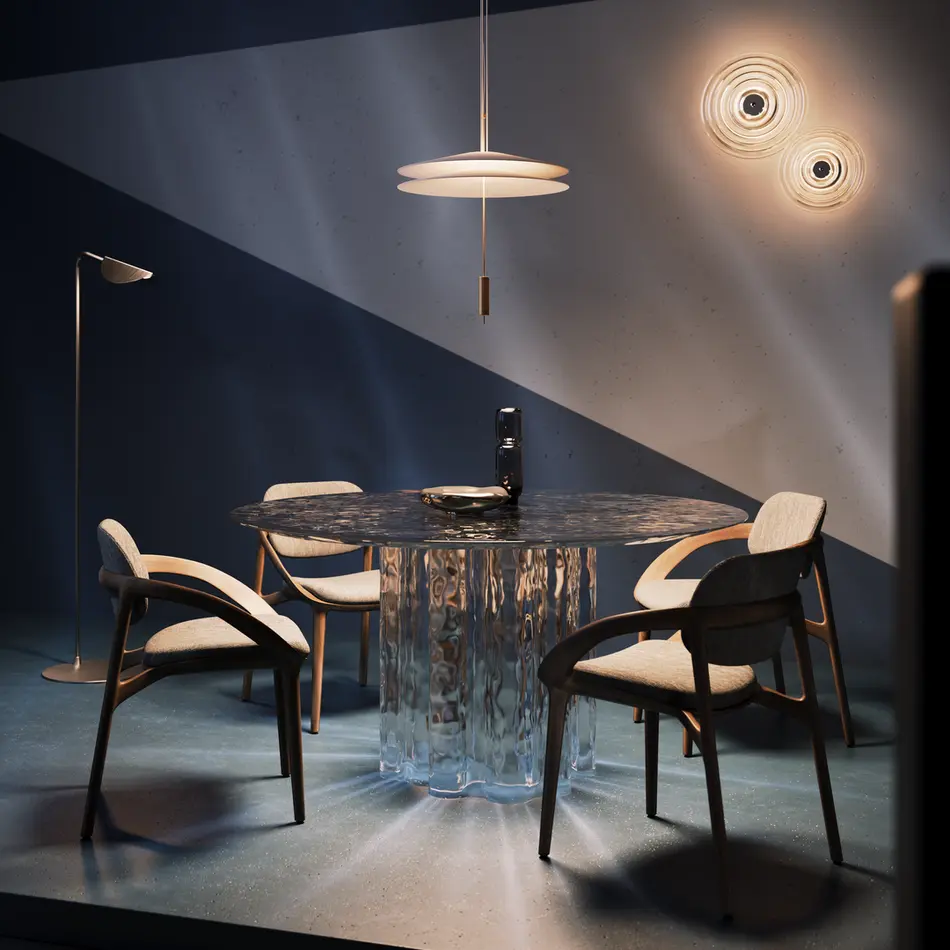
Add Contrasting Drama
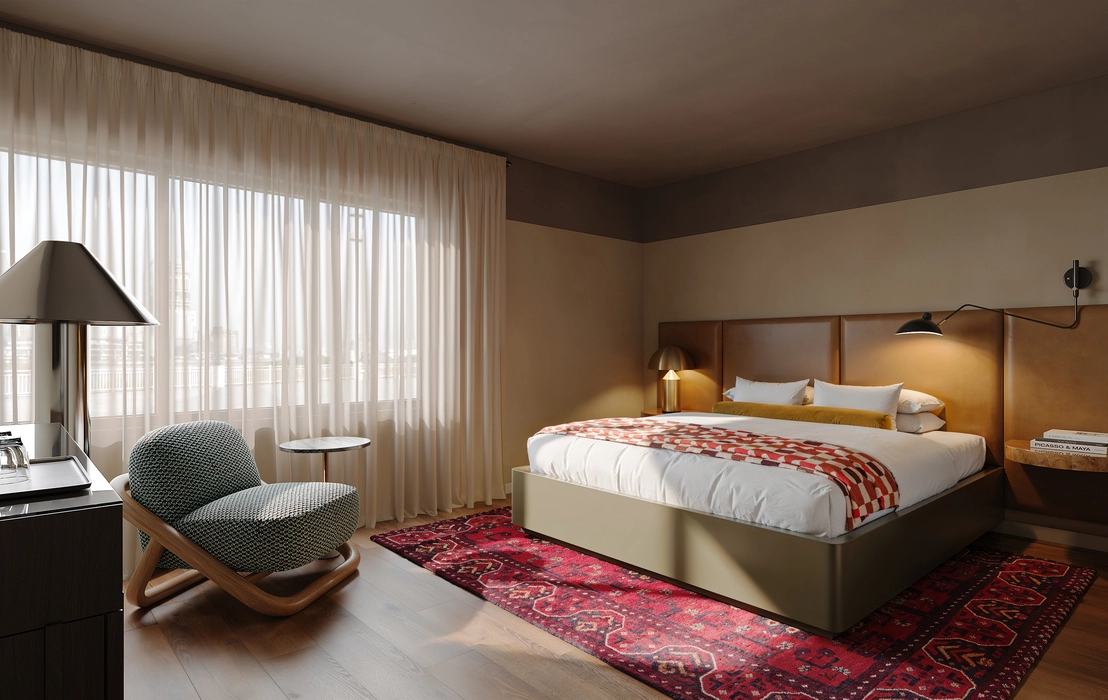
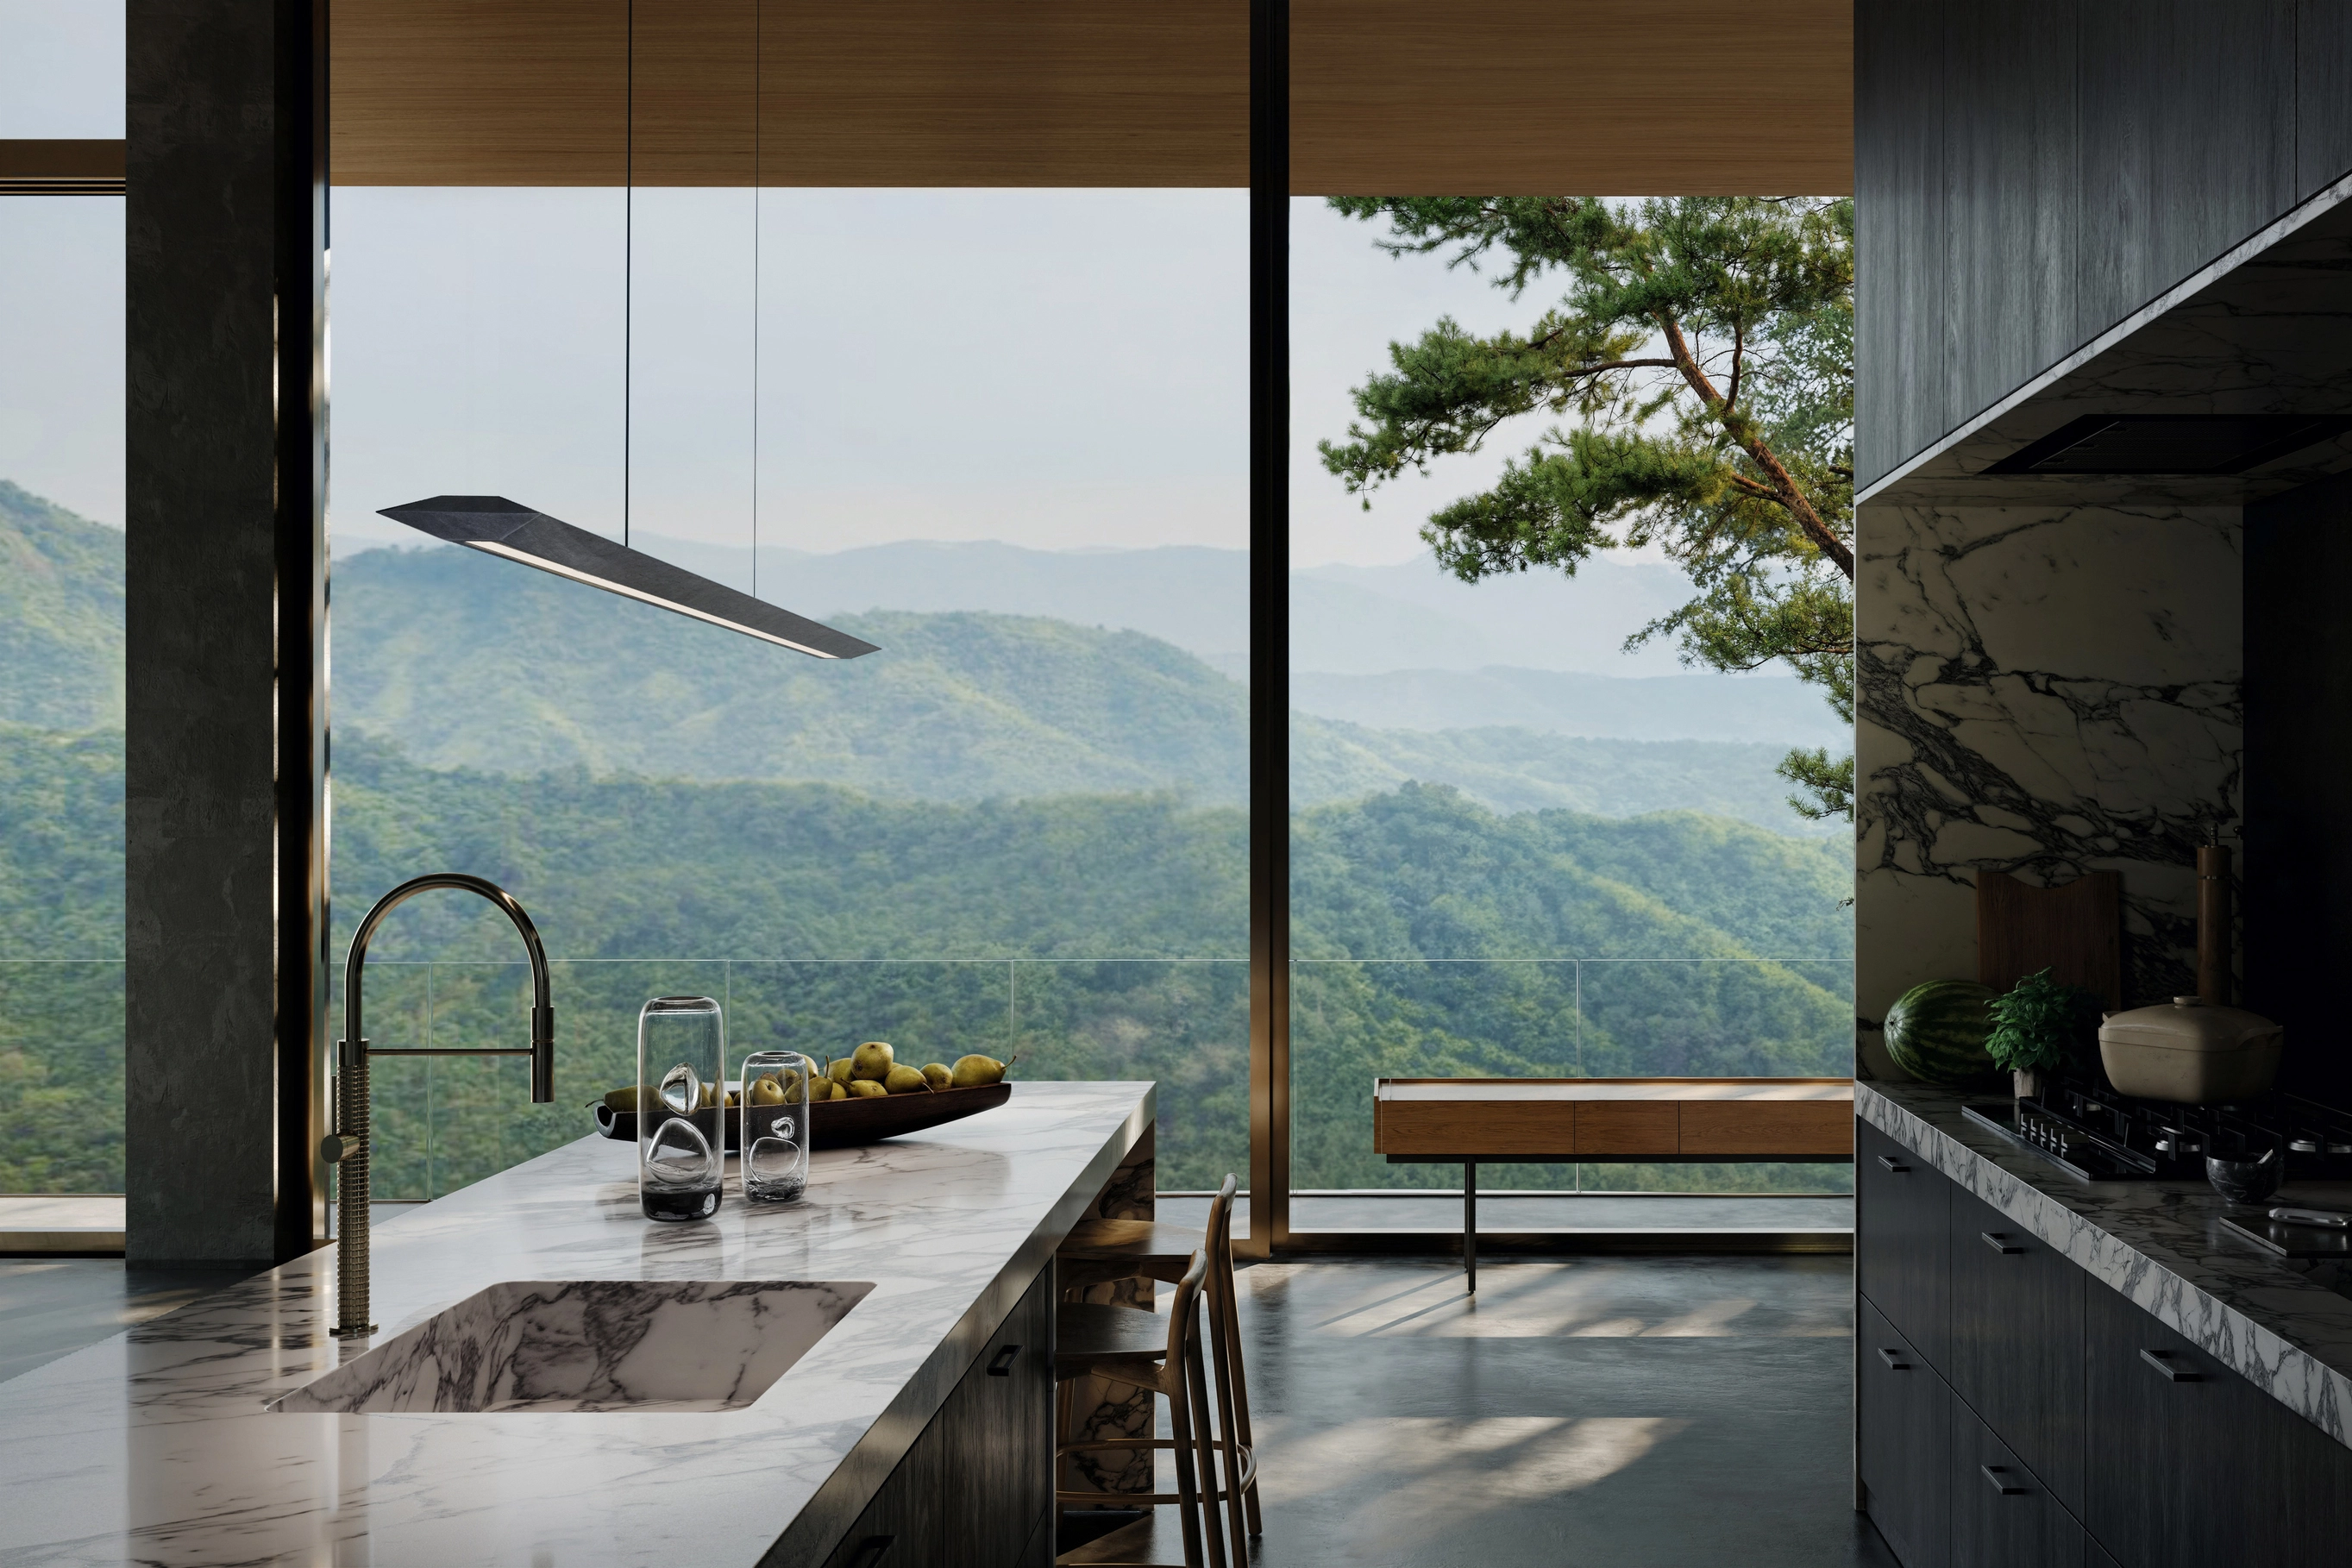
Interior lighting becomes memorable when it contains contrast. This can be warm against cool, bright against dark, hard against soft, or natural against artificial. A cool blue window light combined with warm lamps can make a bedroom feel calm and lived-in. A dark foreground with a glowing kitchen island can produce cinematic depth.
Drama should still serve the design. Too many lights with equal intensity create visual noise. Instead, use one dominant source, one or two supporting fills, and selected accents. The result feels intentional rather than overloaded.
Build Your Light
Build lighting step by step. Start with a dark scene. Add the main source first. Test the render. Add sky or HDRI fill. Test again. Add practical lights, then accents, then small corrections. This method prevents the accumulation of uncontrolled light sources.
Each light should have a reason. Is it motivated by a visible fixture? Does it reveal material? Does it guide the eye? Does it improve depth? If not, remove it. Physically correct falloff is essential: light should weaken naturally with distance. Interiors become believable when every light source behaves as if it belongs in the room.
Light Multiple Textures and Materials
You need to know, that materials respond differently to light. Velvet absorbs and softens it. Polished stone reflects it. Glass bends and multiplies it. Brushed metal catches narrow highlights. Wood needs grazing light to reveal grain. Fabric needs soft light to show weave and folds.
Test materials under the actual lighting setup, not under a generic studio light. A beautiful material can fail if the environment light does not reveal its properties. In high-end interior 3D visualization, lighting is the bridge between material accuracy and emotional value.
Use Effects to Direct the Viewer’s Eye
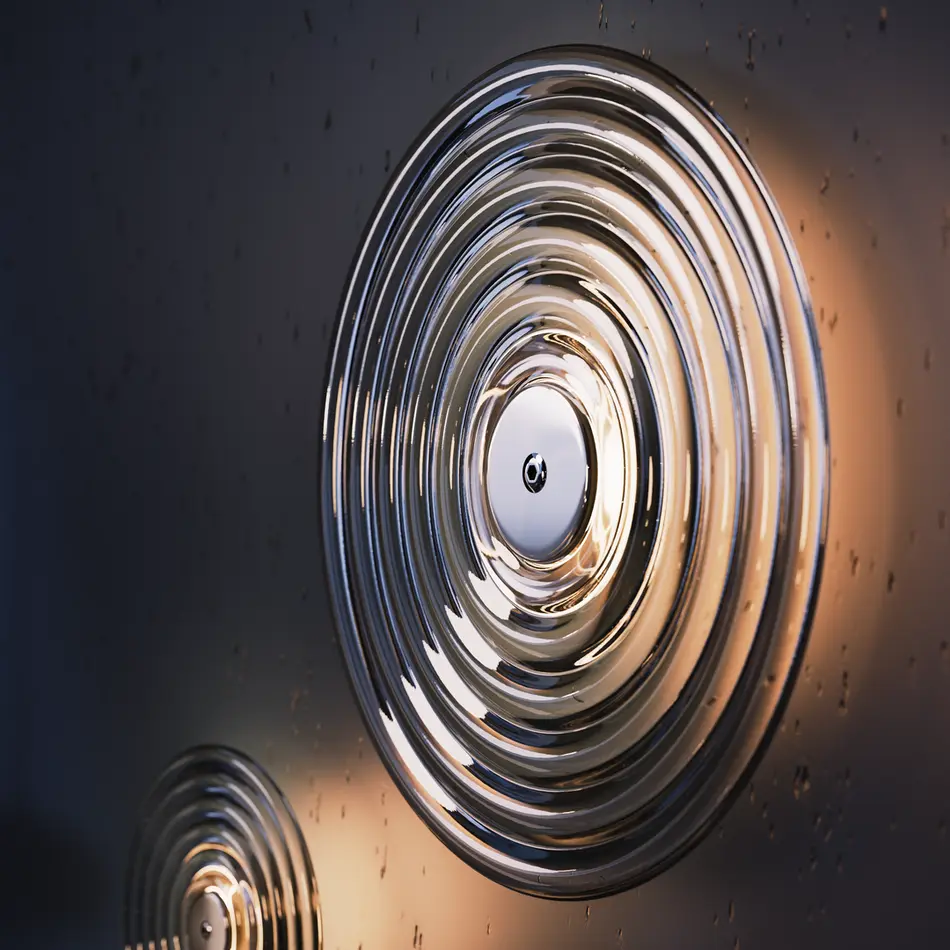
Effects such as bloom, glare, haze, light shafts, and subtle lens reflections can guide attention. Use them around bright fixtures, windows, glossy surfaces, or metallic accents. The key is moderation.
A soft glow around a pendant lamp can make the space feel warm. A controlled reflection on a table can lead the eye toward the center of the frame. A mild vignette can support focus. Lighting effects should never dominate the architecture; they should clarify the visual route through the image.
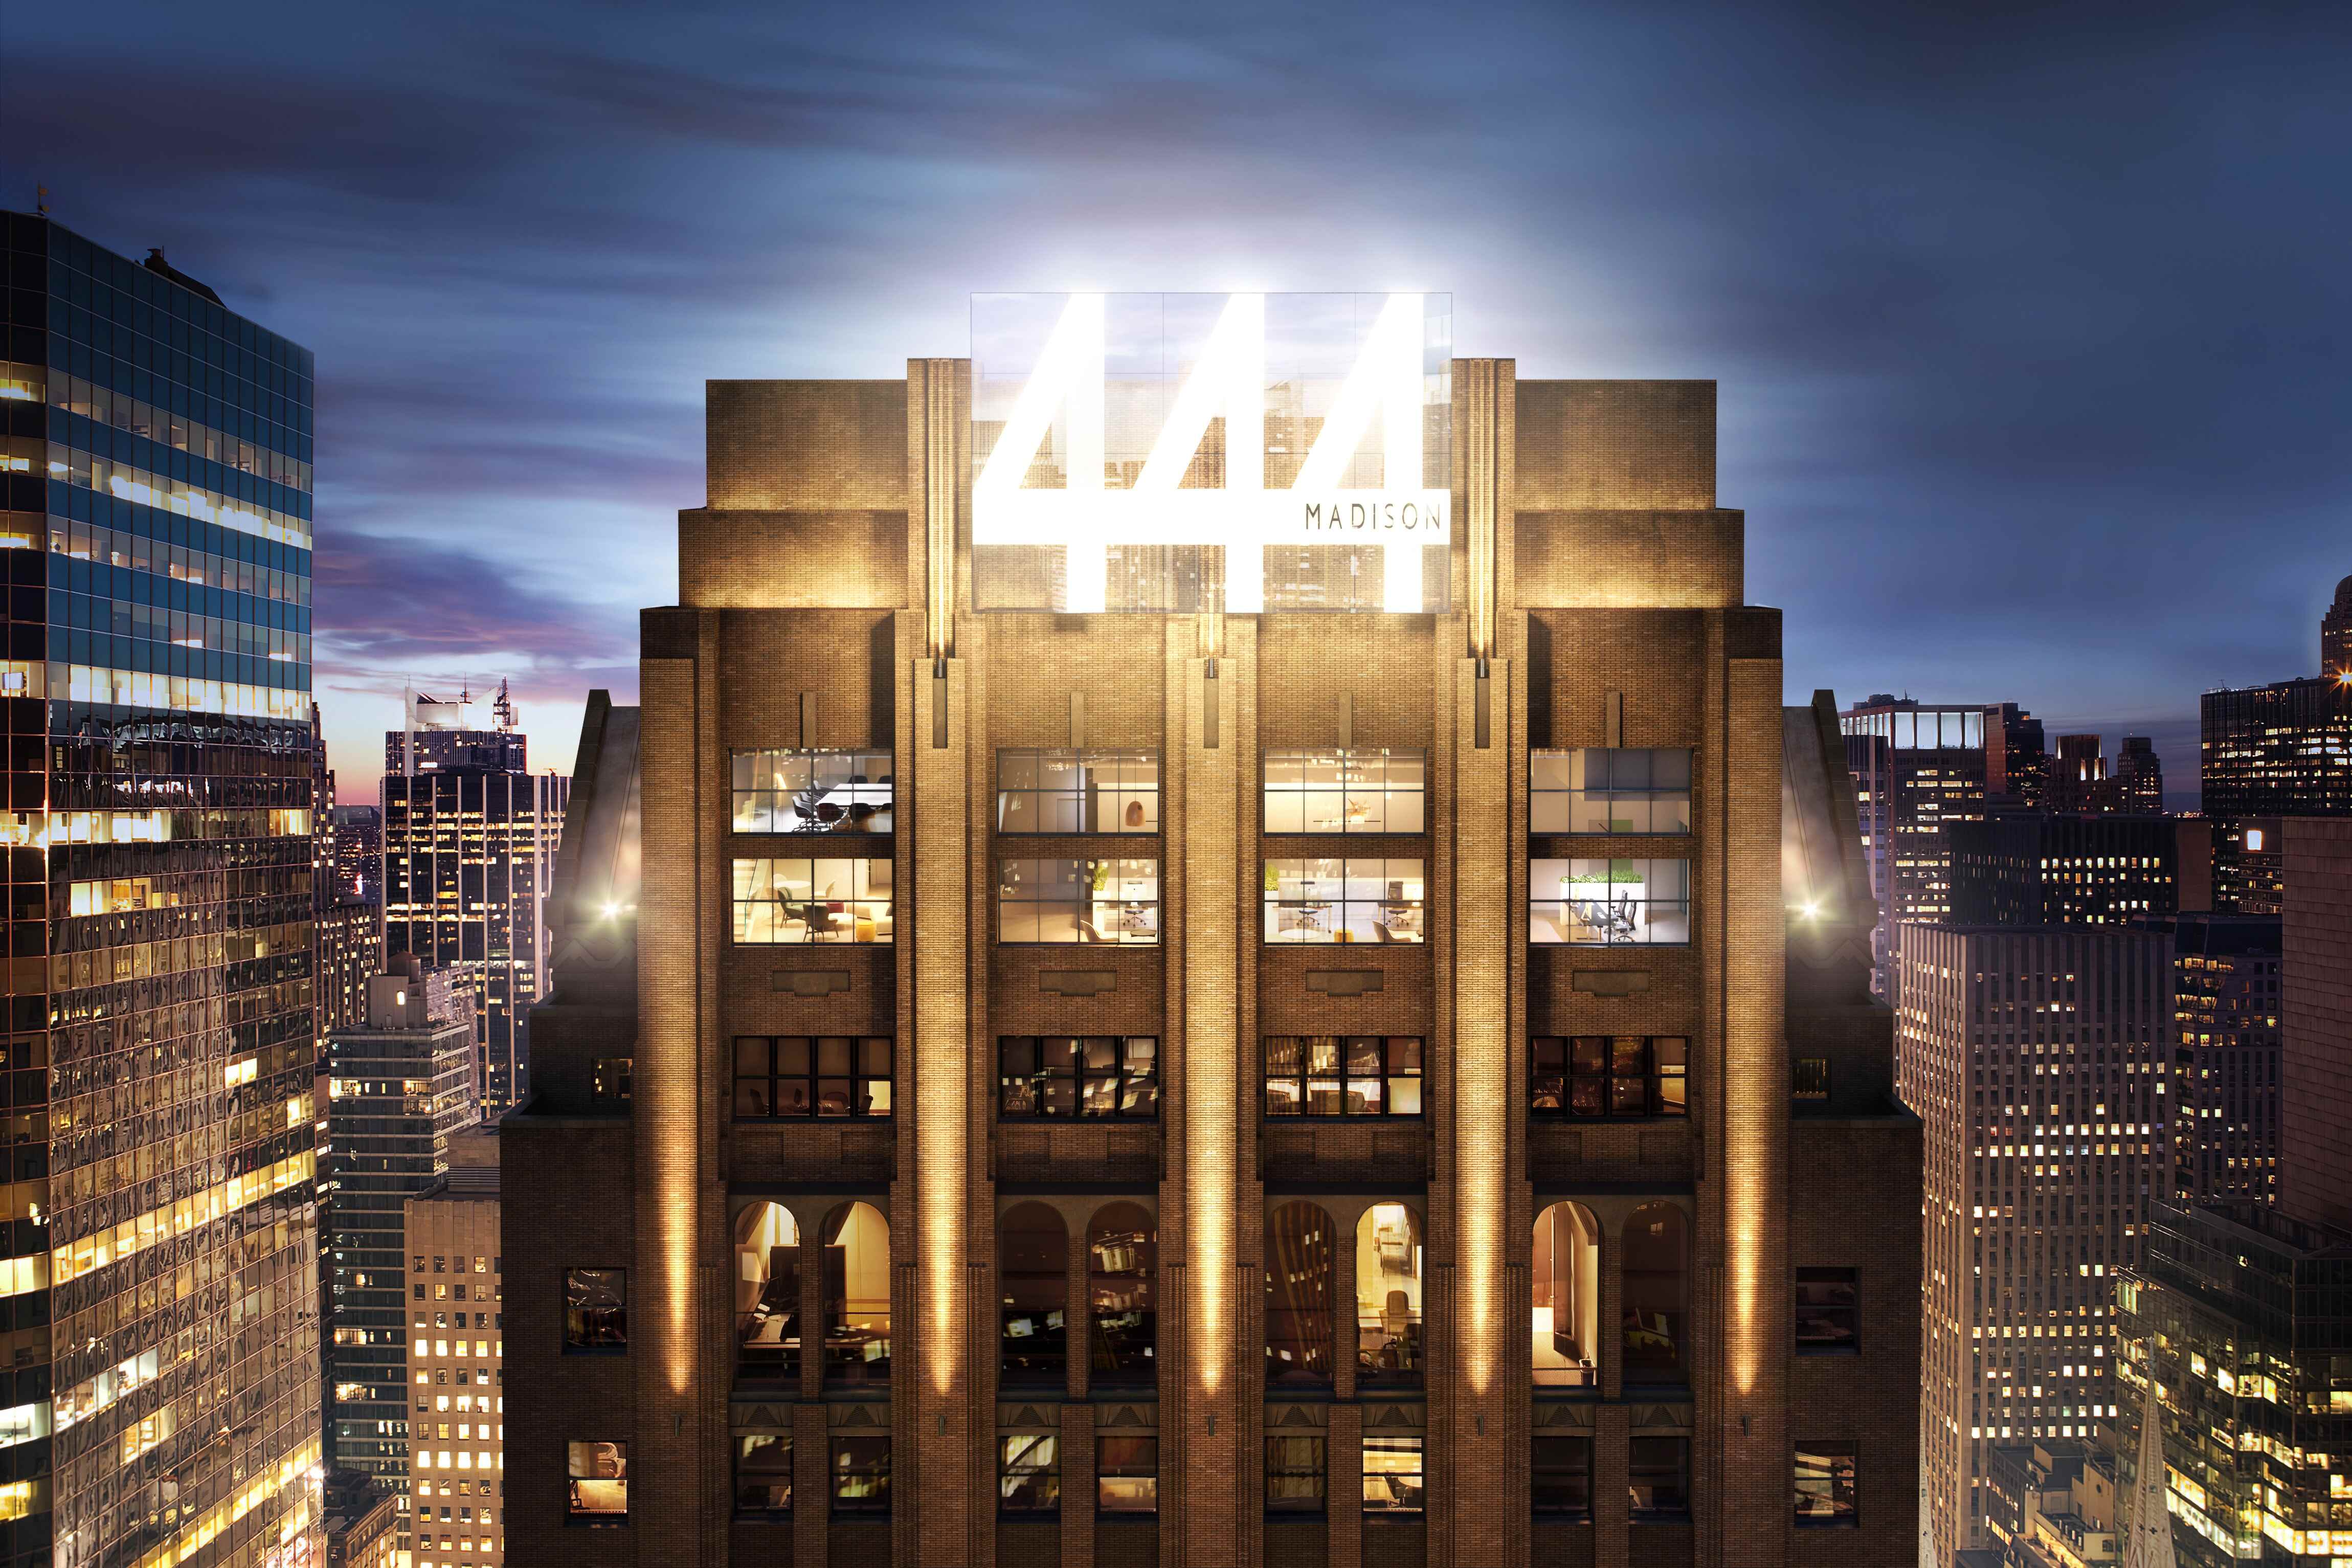
Create Mystery
Mystery gives interiors an atmosphere. Not every corner has to be fully explained. A partially lit hallway by 2-3 light bulbs, a soft glow behind curtains, or a shadowed reading nook can make the viewer imagine the rest of the space.
Use volumetric light, slight haze, narrow accent beams, or low-intensity practicals to create depth. The XXI century saw the impulse toward hyper-clarity in digital imagery, but the most persuasive renderings often leave room for mood. Mystery makes the image feel inhabited, not merely displayed. Among other 3D interior lighting tips, it could be most uncertain or unclear, but creative.
Need interior renders that sell the atmosphere, materials, and design intent? Let Omegarender turn your concept into photorealistic visual communication built for presentations, sales, and approval.
How to Use 3D Lights to Produce Realistic Interior 3D Images
Start with the natural light scenario. Define whether the scene is morning, noon, golden hour, overcast, evening, or night. Then set the sun, sky, or HDRI environment accordingly. For daylight interiors, a sun-and-sky system gives direction and realism, while HDRI adds environmental reflections and soft ambient fill.
Next, control window light. Use area lights near openings when the interior needs stronger illumination. Keep them soft and motivated by the architecture. If the window light is too white or too strong, the room will look overexposed; if it is too weak, the interior will feel dull.
Then add practical lighting: pendants, recessed lights, wall sconces, table lamps, LED strips, and IES-based fixtures. IES profiles are especially useful because they reproduce real photometric distribution patterns. They help ceiling lights and wall lamps cast believable cones, scallops, and gradients.
After that, balance fill and bounce. Global illumination should allow light to reflect from walls, floors, ceilings, and furniture. Matte surfaces create soft bounce; glossy surfaces create sharper highlights. Adjust exposure through the camera, not only through lamp intensity. This keeps the image physically coherent.
Finally, test the render at small resolution before final output. Check shadow direction, color temperature, contact shadows, material readability, and focal hierarchy. A professional workflow is iterative: lighting, camera, material, and composition are adjusted together until the image feels inevitable.

Why Choose Omegarender for Your Interior 3D Lighting?
Omegarender understands that realistic interior lighting is not just a technical setting. It is a form of architectural communication. Developers, architects, designers, real estate brands, and product companies need visuals that explain space, atmosphere, quality, and lifestyle before anything is built.
The studio’s approach combines photorealism, storytelling, detail-oriented production, and client-specific customization. Lighting is used to show the purpose of the room, the value of materials, and the emotional promise of the design. A hotel suite should feel calm and premium. A residential kitchen should feel functional and warm. A retail interior should lead attention toward products and circulation.
Omegarender also treats lighting as part of a broader marketing asset. Interior renders can support websites, brochures, investor decks, social media, email campaigns, launch presentations, and sales materials. In that sense, one lighting direction can influence the whole visual identity of a project.
Conclusion
Realistic 3D interior lighting depends on a disciplined combination of reference analysis, physically believable sources, controlled shadows, material-aware highlights, camera sensitivity, and careful compositing. The strongest results come from layered lighting: daylight for structure, practicals for warmth, accents for hierarchy, and effects for atmosphere.
Bring your interior concept to life with Omegarender’s photorealistic 3D lighting, crafted to reveal atmosphere, materials, and architectural value with precision.

FAQ
What Is the Best Type of Indoor Lighting?
The best indoor lighting is layered lighting. In both real interiors and 3D renderings, relying on a single light type usually produces flat results. A strong setup combines ambient lighting for general visibility, task lighting for functional areas, and accent lighting for architectural or decorative emphasis.
For 3D interiors, area lights are often more realistic than simple point lights because they create softer shadows and broader light illuminating. HDRI and sun/sky systems work well for daylight scenes. IES lights are excellent for realistic fixtures. Warm lights around 2700–3000K suit living rooms, bedrooms, restaurants, and hospitality spaces, while neutral task lighting around 3500–4500K can work for kitchens, bathrooms, offices, and work zones.
What Are the Three Types of Lighting in Interior Design?
The three main types are ambient, task, and accent lighting.Ambient lighting is the general illumination of the room. It can come from ceiling lights, skylights, window light, or large-area sources in 3D.
Task lighting supports a specific activity, such as reading, cooking, working, grooming, or dining. Examples include desk lamps, under-cabinet lights, vanity lights, and pendant lights above a kitchen island.Accent lighting emphasizes selected details. It can highlight artwork, niches, textured walls, shelves, furniture, plants, or decorative objects. In 3D rendering, accent lighting is essential for visual hierarchy because it tells the viewer where to look first.
REVA SYKE RD, BRADFORD, UK
D3, DUBAI DESIGN DISTRICT,
DUBAI, UNITED ARAB EMIRATES


